
Retaining Wall Basics: Base, Drainage & Block
By the RLES team
A good retaining wall starts long before the first block is set. Whether you're leveling a sloped yard, holding soil along a driveway, building a raised bed, or fixing erosion, the wall's strength depends on what you do underneath and behind it. Around Farmington and St. Francois County, walls face real Missouri conditions — clay-heavy soils, freeze-thaw cycles, heavy spring rains, and yards that don't drain well — so the base, drainage stone, backfill, and layout matter just as much as the block you see. Here are the basics of planning a segmental wall.
Start with the layout and purpose
A short bed wall is very different from a taller wall holding a slope near a driveway or house. Walk the area after rain — see where water moves, where soil washes out. Decide: how tall, how long, straight/curved/terraced, what it's holding back, and where water goes after it reaches the wall. A wall that looks good but traps water behind it fails over time — for retaining walls, drainage is part of the structure, not an add-on.
Understand wall height before you build
Taller = more pressure to resist. A low garden wall may only need a compacted gravel base, setback, and drainage stone. Once a wall gets several feet tall, carries a load, or sits near a structure, stop and get advice. Watch for "surcharge" — extra weight above/behind the wall (driveway, vehicles, shed, patio, steep hill, or saturated soil) that pushes harder than people expect.
Mark the wall line
Stakes + string for straight runs; a hose, paint, or rope for curves. Leave room behind the wall for drainage stone and to work, account for block depth/setback, plan how the ends tie into the grade, and where the drain pipe outlets. Don't let the wall just stop mid-slope with no plan for water or soil at the ends.
Excavate wider and deeper than the block
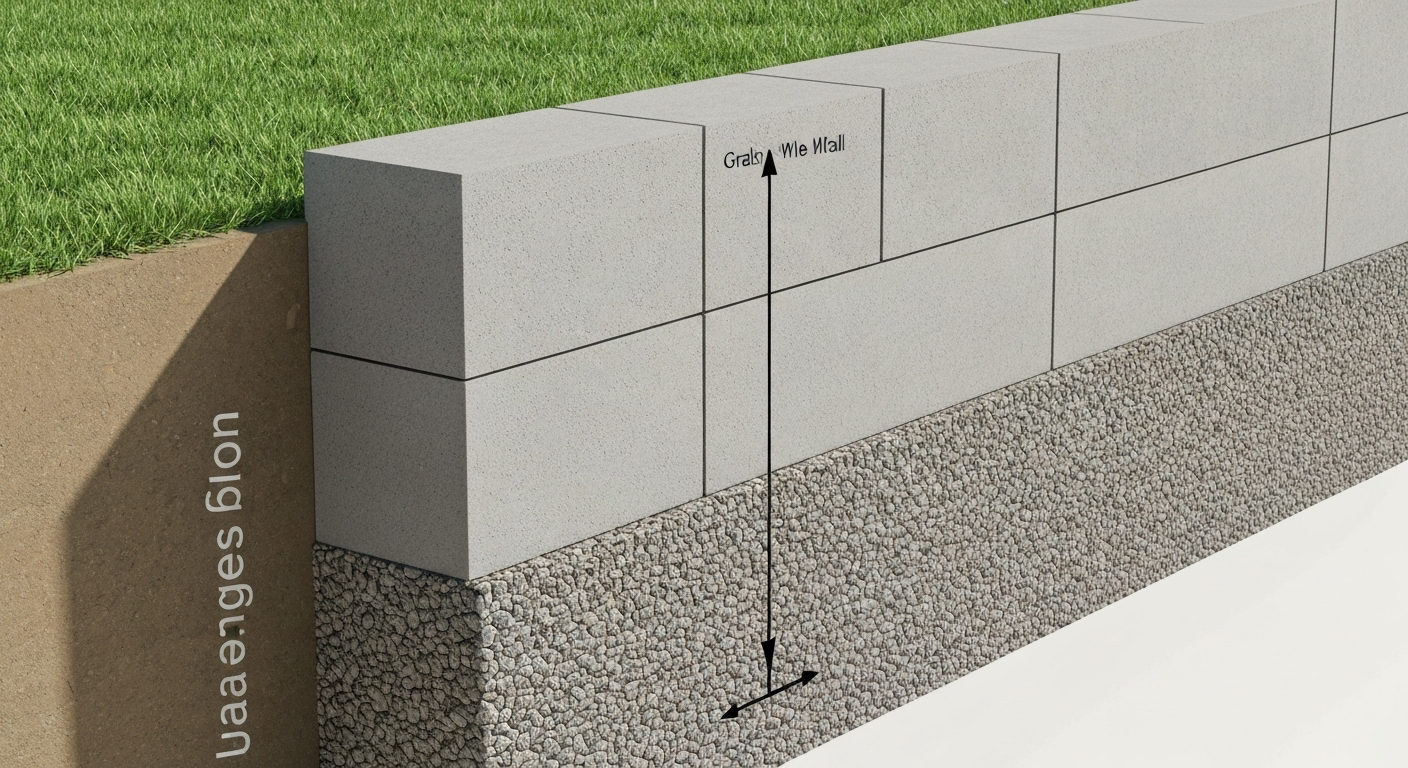
A common mistake is not digging enough. The base trench should be wider than the block front-to-back, and deep enough for several inches of compacted gravel base plus burying part of the first course (which locks the wall in). Don't set the first course on topsoil, loose dirt, or grass — organic material moves, holds water, and creates soft spots. Get down to firm subgrade.
Build a compacted gravel base
The base makes or breaks the wall. Use compactable angular aggregate (not round river rock), spread in layers, and compact thoroughly (a plate compactor beats a hand tamper). The base should be wide enough, level front-to-back, level (or properly stepped on a slope), and firm — not spongy. Don't rush it.
Level the first course carefully
The first course controls the whole wall. Set each block, check level side-to-side and front-to-back, use a string line/laser on longer walls, tap with a rubber mallet, adjust with base material. It's the slowest course but the most important. On slopes, step the base up/down while keeping blocks buried and supported.
Add drainage stone behind the wall
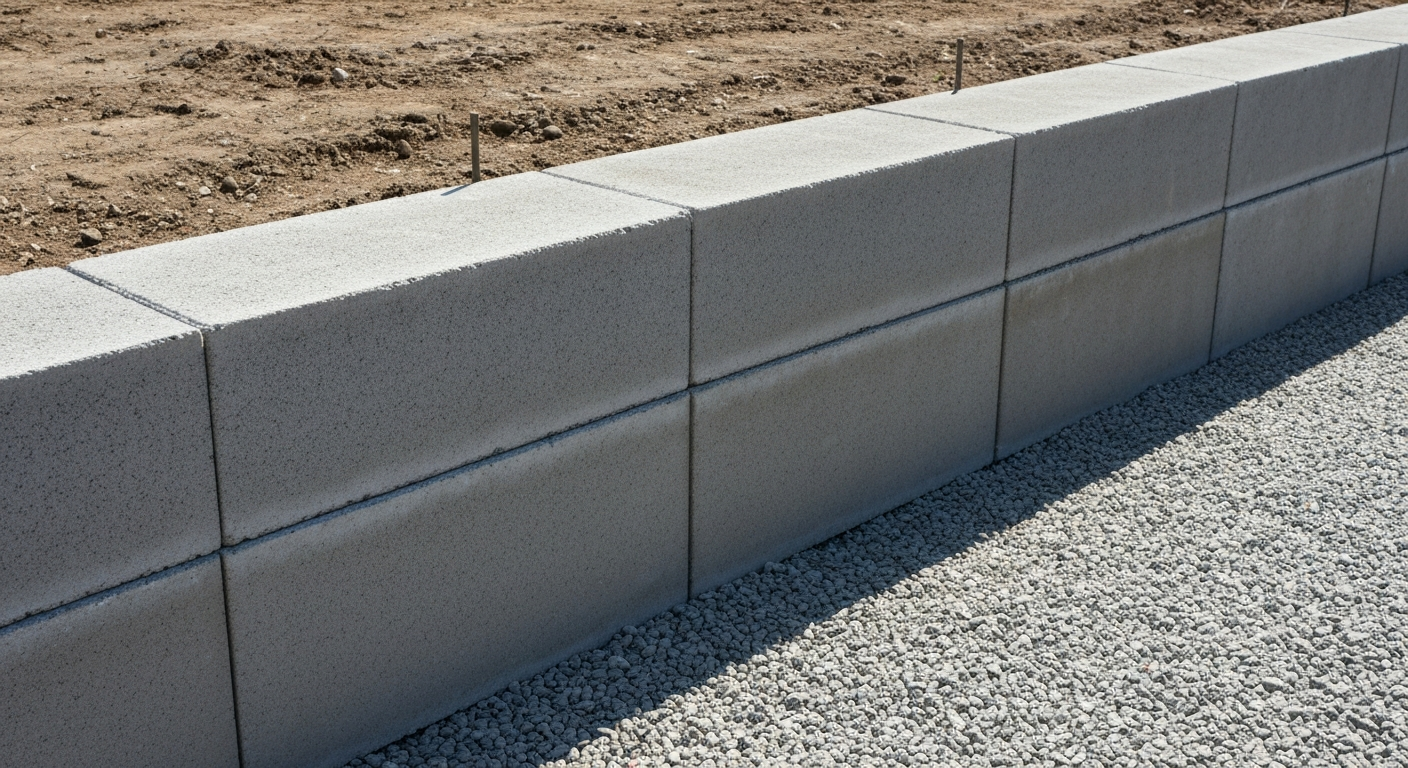
Trapped water is the biggest enemy — it raises pressure and pushes the wall forward, especially in freeze-thaw. Place clean angular drainage stone directly behind the block and build it up as you go. Don't backfill directly against the block with clay (it holds moisture and expands).
Use perforated drain pipe when needed
For walls holding a slope or in wet areas, set perforated pipe low behind the wall in drainage stone to collect water and carry it to a safe outlet that daylights away from the wall, driveway, and foundation. A pipe only works if it has somewhere to go — plan the outlet first.
Backfill and compact as you build
Work in lifts: add a course or two, place drainage stone behind it, compact behind the drainage zone — don't build the whole wall then dump loose fill at the end. Keep the wall face clean so blocks seat properly.
Geogrid for taller walls
Geogrid ties the wall into the soil mass and is commonly needed for taller walls, walls supporting slopes, or extra load. It's placed between courses and extended back into the soil at set heights/lengths based on height, soil, block system, and load. Don't guess on geogrid for a serious wall — get a pro or engineer to design it.
Finish with caps
Caps finish the look and protect the top course, secured with compatible landscape adhesive on a clean, dry, aligned top course. Cut caps for curves, corners, and ends.
When to call a pro or engineer
Get guidance when the wall is several feet+ tall, supports a driveway/building/patio/steep slope, sits in a wet area, has unstable/eroded soil, is near a property line, or when permits are unclear. A wall failure is expensive and dangerous — ask early.
Get your materials from RLES
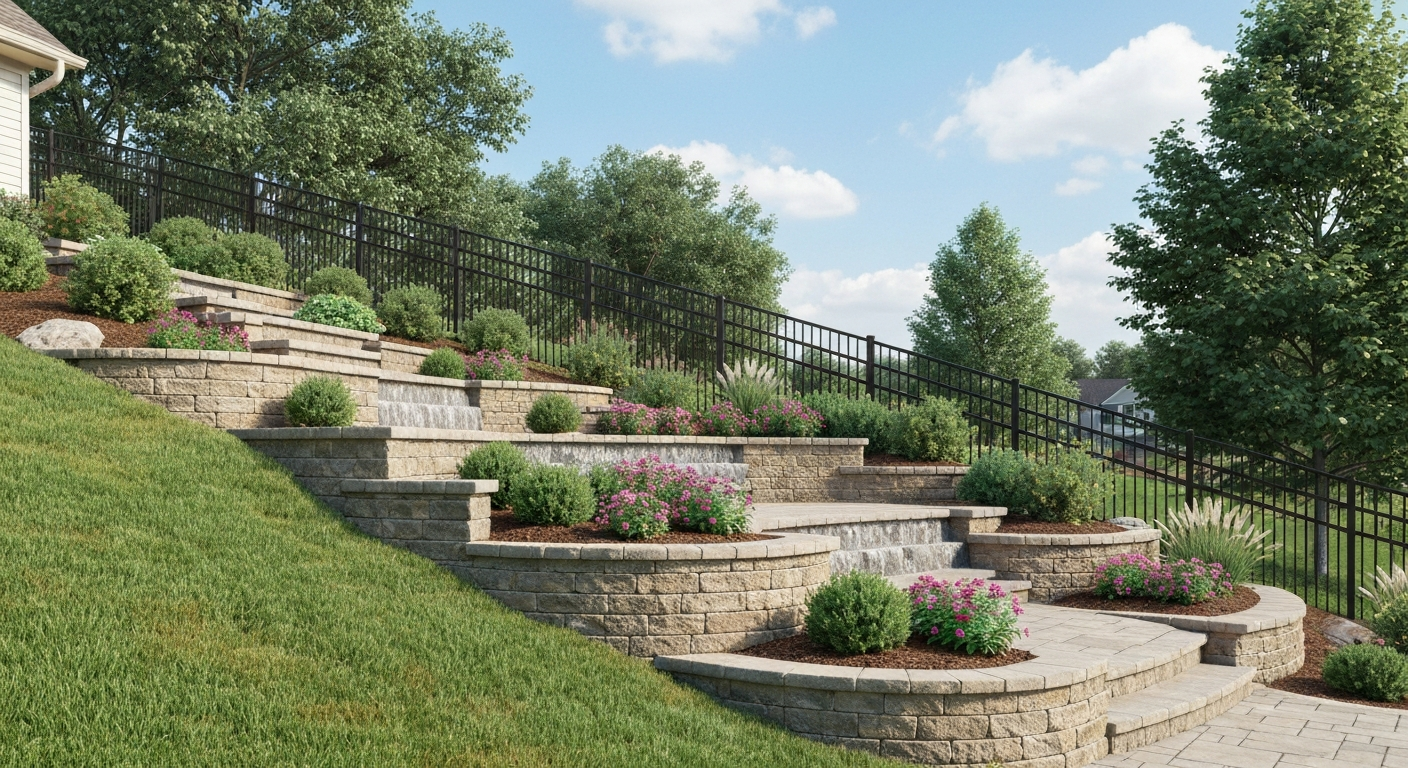
RLES supplies the visible block AND what goes behind it: segmental wall block, caps, compacted gravel base, drainage stone, sand/leveling materials, and edging — ordered to order, pickup at 6809 Highway 32 or local delivery across Farmington & St. Francois County. (573) 955-0080.
Key Takeaway
A retaining wall is only as good as its base and drainage. Measure the area, plan the height and where water goes, and pick the right materials.
Frequently Asked Questions
Related Materials & Services
Ready to build your retaining wall?
For wall block, caps, base, drainage stone, and sand in Farmington & St. Francois County, call RLES at (573) 955-0080 or stop by 6809 Highway 32.